
Colors.zip
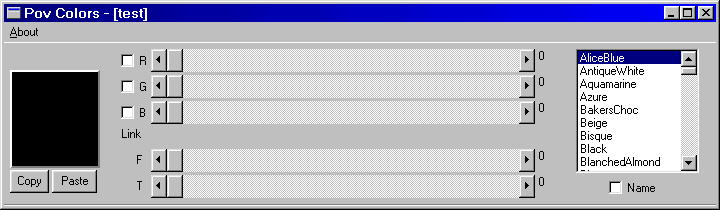
This program is use to read and place colors of a POV file, using the clipboard.
It has the standard color slide bars plus one each for transmit and filter.
The color sliders can be linked so you can adjust the shade of a color.
And there keys that can maximize or minimize a slider.
You can read or paste the name of a color, if it is in Ken's Tyler's
color file Kolors.inc. This works for everything but the grays and clear.
(this file is in the zip)
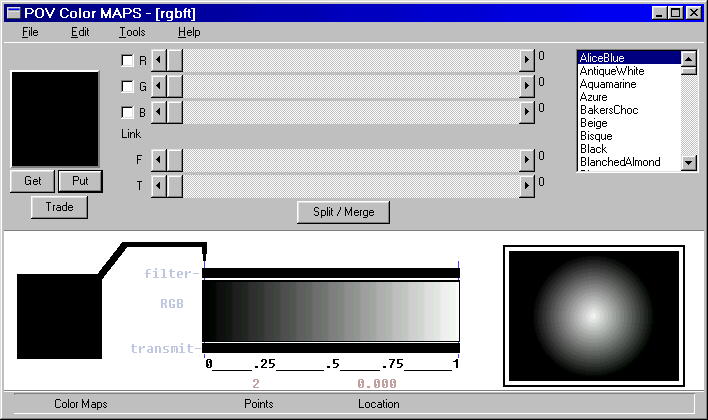
When pasting a color each color part is 4 decimal places long and the program
will drop the filter or transmit if their value is zero and if all the remaining values
are the same then only what is needed is placed.
Here are some examples of what Colors puts out.
rgb 0.5333
rgbf<0.5333,0.8824,0.7529,0.5490>
rgbt<0.1529,0.3255,0.6353,0.6706>
rgbft<0.6000,0.9569,0.5608,0.4392,0.6078>
Beige
This program is use to read and place colors of a POV file, using the clipboard.
It has the standard color slide bars plus one each for transmit and filter.
The color sliders can be linked so you can adjust the shade of a color.
And there keys that can maximize or minimize a slider.
You can read or paste the name of a color, if it is in Ken's Tyler's
color file Kolors.inc. This works for everything but the grays and clear.
(this file is in the zip)
When pasting a color each color part is 4 decimal places long and the program
will drop the filter or transmit if their value is zero and if all the remaining values
are the same then only what is needed is placed.
Here are some examples of what Colors puts out.
rgb 0.5333
rgbf<0.5333,0.8824,0.7529,0.5490>
rgbt<0.1529,0.3255,0.6353,0.6706>
rgbft<0.6000,0.9569,0.5608,0.4392,0.6078>
Beige

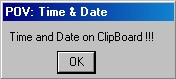
This is the simplest program I've got.
All it does it put the Time and Date on the Clipboard.
I made it so I could put time&date in the header of POV files.
Put it in POV's Tool menu. When needed, you click on it,
then paste it where you want.
You'll get something like this on the clipboard:
// 02:28:32 PM Monday October 06,2014
and the notifaction above
Load TimePov

Ha! Ha! I fooled ya there is a fourth....
Pals a palette maker for the special pallete they all use.
You don't HAVE TO to have this.
You'll only need it if you don't like the palettes I aready made.
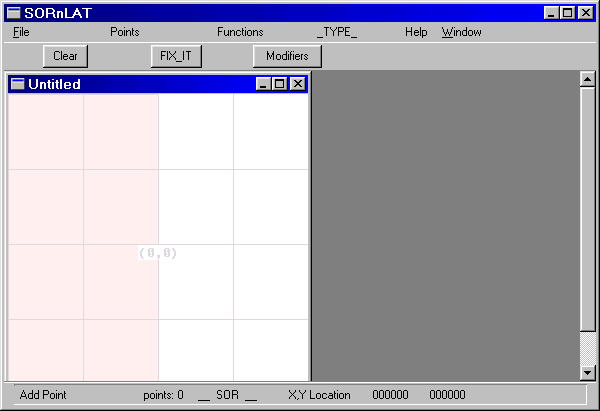
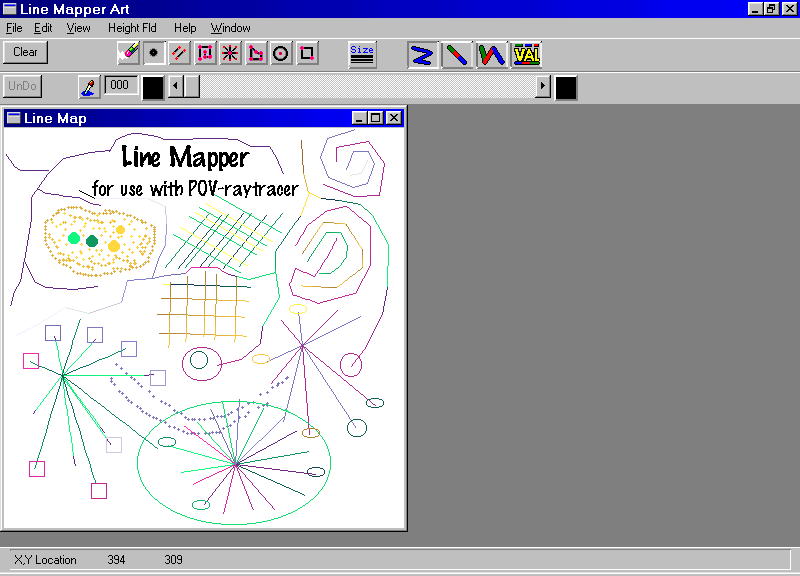
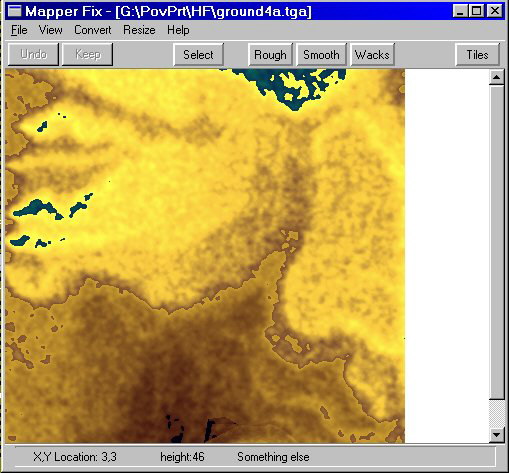
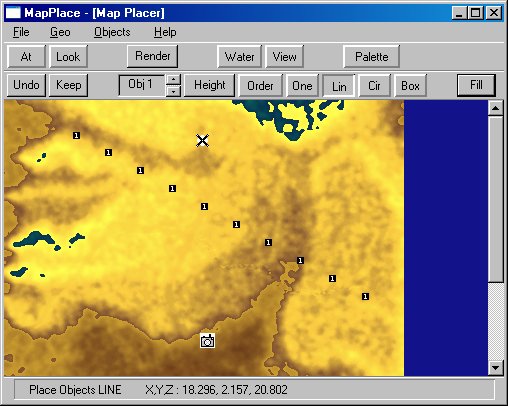
Mapper makes a height field using contour lines. MapperFix takes an
existing height feild and deforms it to your liking. MapPlacer uses an heigh feild
made with the other two and lets you Place things on it.
These programs can be used separately. You don't have to load them all. If you want
to put them all in the same directory you can. Each as a default starting display
which some zips may duplicate.
As of 2017 I have a new web server and can have the help files in the same
zip file as the program.
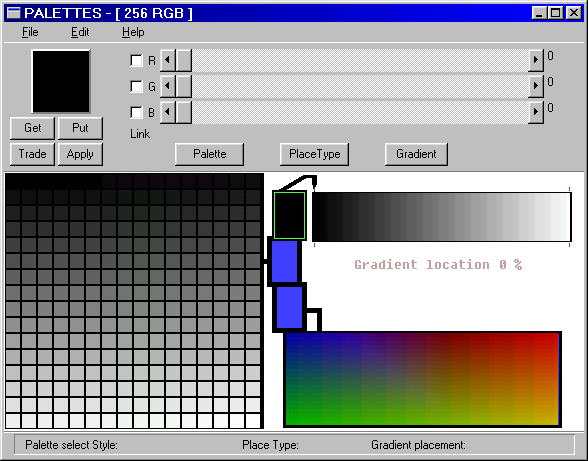

This program makes palettes for Mapper, MapperFix and MapPlacer.
The palettes they use has little to do with the Windows palette. When
interacting with Windows the're 24bit true color. The palettes they use are
special in that the blue part of every color is ordered. The blue value matches
the palette index.
I've play around with different palettes trying to get the perfect one. I even wrote
this to make them. In trying to decide which one I should keep I decided that
I'll let the user decide what palette to choose. So you can load one of my palettes
or use this program to make your own.
Load Palette Maker